This past weekend the weather cooperated and I was able to rebuild the
spring bushings and install the Dexter EZ Flex Equalizer. For those thinking
about doing this upgrade, here are the details of how install went. For
those wanting to do this themselves, this is somewhat invloved and should
only be attempted if you feel confident you can do this safely.
First off I bought what Dexter calls the heavy duty shackle and wet bolt kit
upgrade along with the EZ Flex. And I highly recommend doing the heavy duty
shackles and wet bolt kit upgrade even if you do not do the equalizer
upgrade. The bronze bushings, greaseable pins and heavy shackles are worth
it and make the suspension last longer for not a lot of cost.
I’ll do this post mainly with pic’s to keep the typing down and so you can
see install in action. There are others ways to do this install using
different tools and methods, just this way fit the tools and equipment I
had.
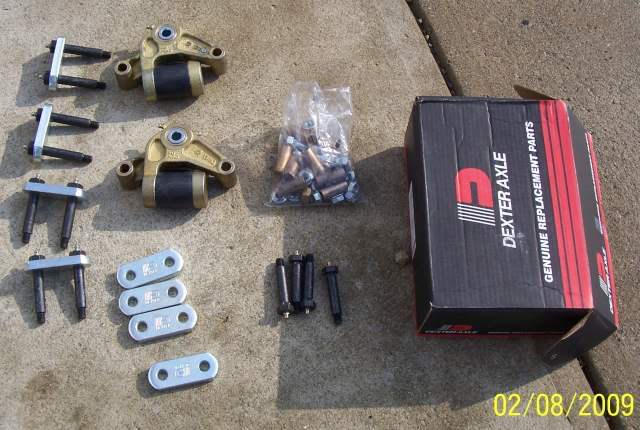
First off what comes in the kit. You get all the parts you need for the
rebuild. There is also instructions.
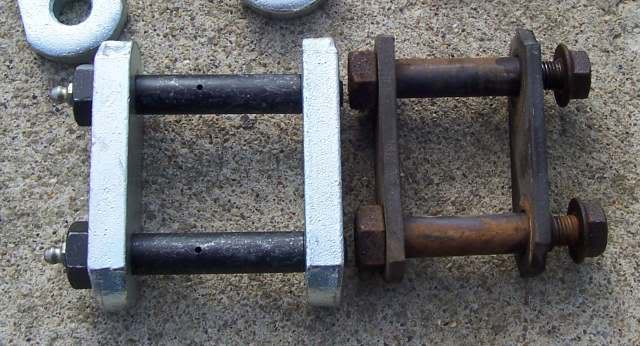
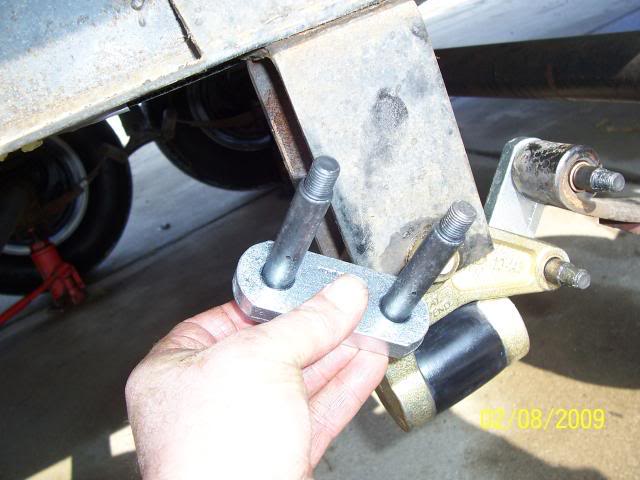
Here side by side you can see the difference in the standard shackle links
and the heavy duty ones. The thicker links provide more bearing surface to
hold the shackles more rigid as the holes in the standard ones were starting
to wear.
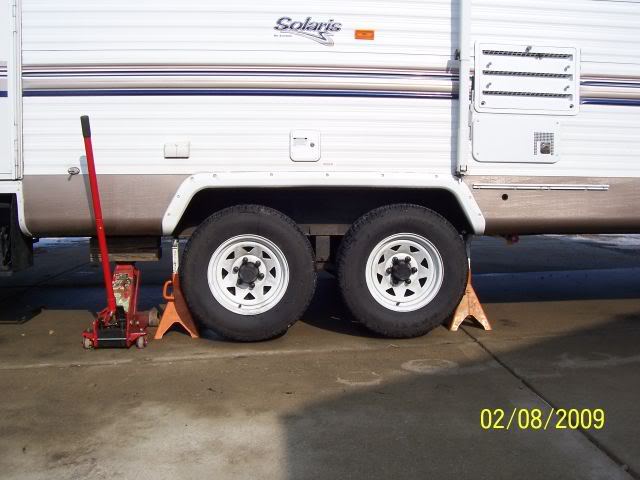
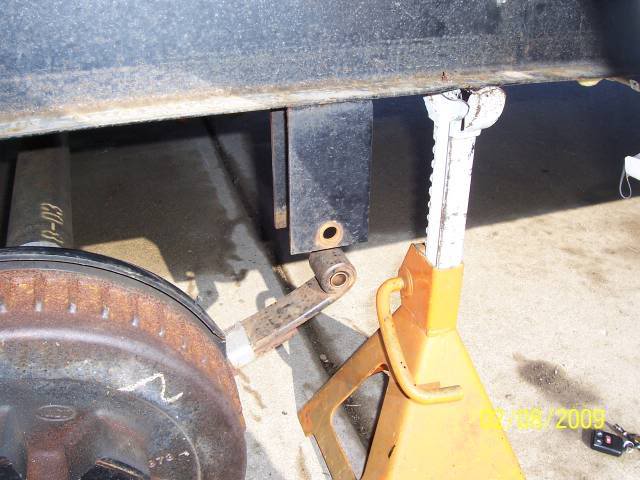
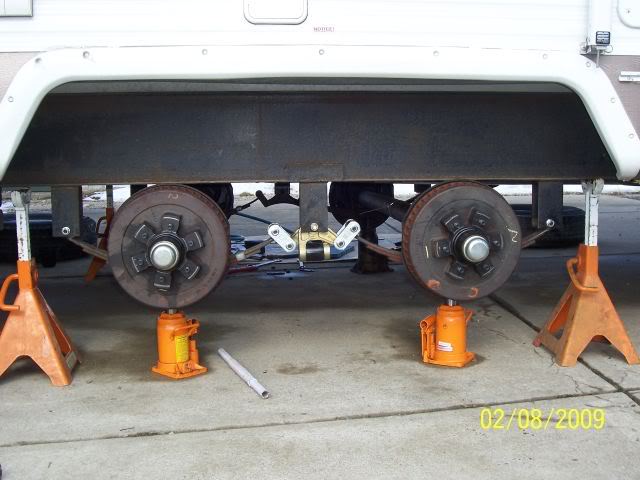
Now to the install. First is to jack up the TT. I lifted both sides one at a
time and placed qty 4, 6 ton jack stands at the wheel area of the frame and
leveled out the tongue jack so the frame was resting on all 4 jacks even
along with the tongue jack. Place the floor jack behind the axle on the main
frame as you are jacking either side of the TT. A word of caution, do not
trust just a jack to hold the TT up for this type of work. You need heavy
jack stands with excess capacity for stability.
I also removed all 4 wheels. Prior to jacking the TT up I put 4 bottle jacks
under each axle to just touch the spring U bolt plate of the axle. More on
the bottle jacks later and why I need them.
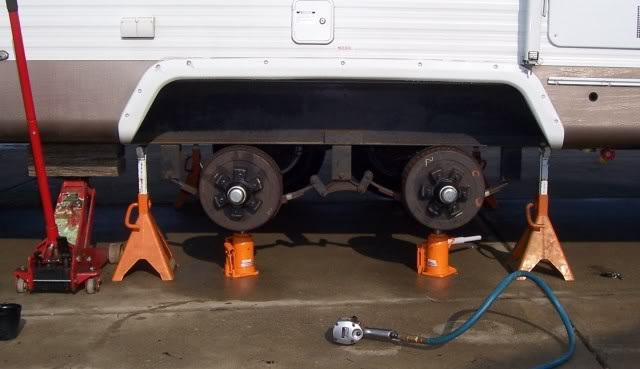
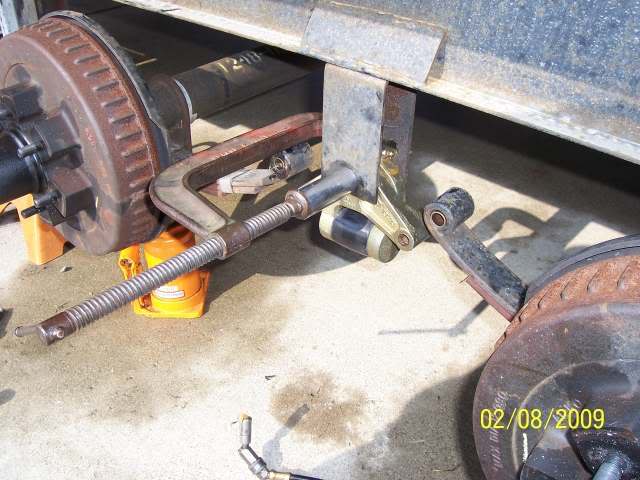
Here you can see the bottle jacks. You can raise/lower this jack so the
springs you are working on are loose. You can feel the shackle wiggle when
there is no load on them. This will hold the axle when you pull out the
pins.

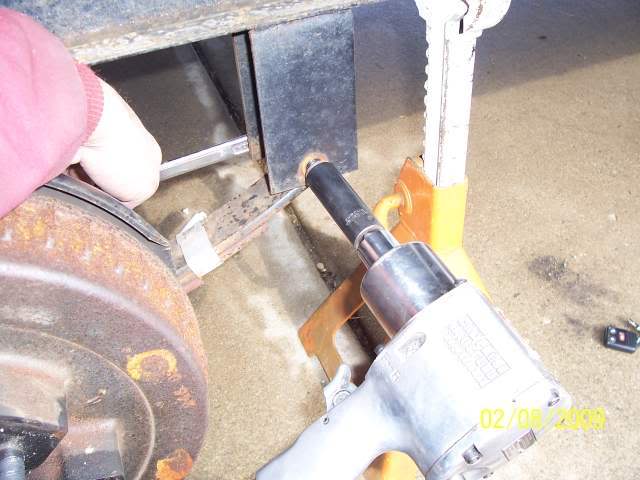
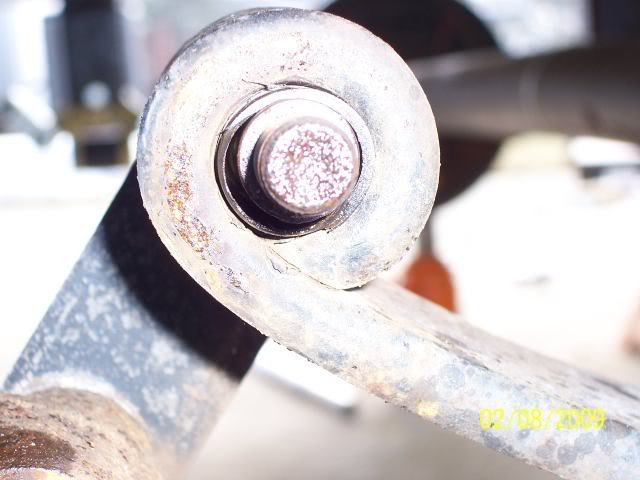
Next you start by taking the pivot pins out. I squited up all nuts with
penatrating oil to help the removal process. NOTE: Make sure you place a
wrench on the back side of the pin when you take the nut off. If not, you
can strip the pin in the frame hanger hole and enlarge the hole to where the
new pin will spin. I used an impact wrench, if you do not have one, a ½
breaker bar will be needed as they get pretty rusted on.
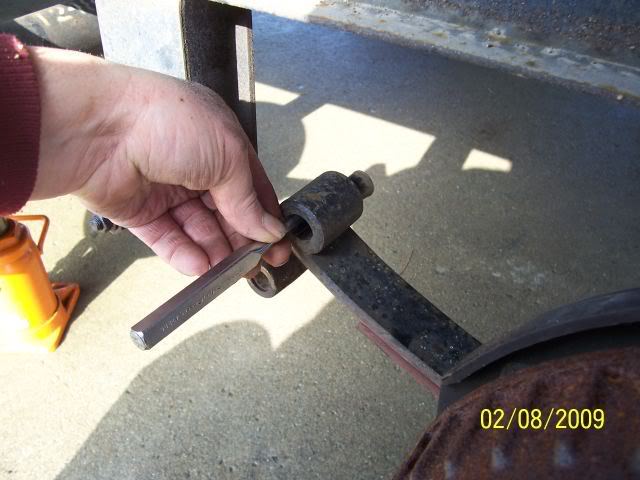
Once removed, I screw the nut on a few threads and use a center punch (prick
punch) to drive out the pin. Once you break the pin free, you can take the
nut off. I used the nut to prevent
the punch from slipping off as sometimes the pin is really rusted in.

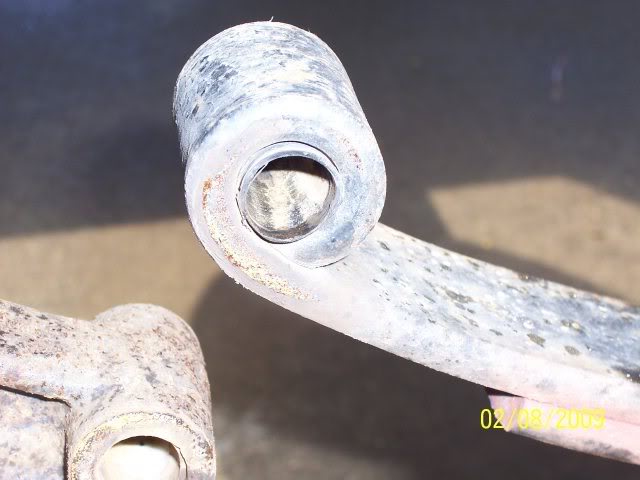
Then move to the shackle.
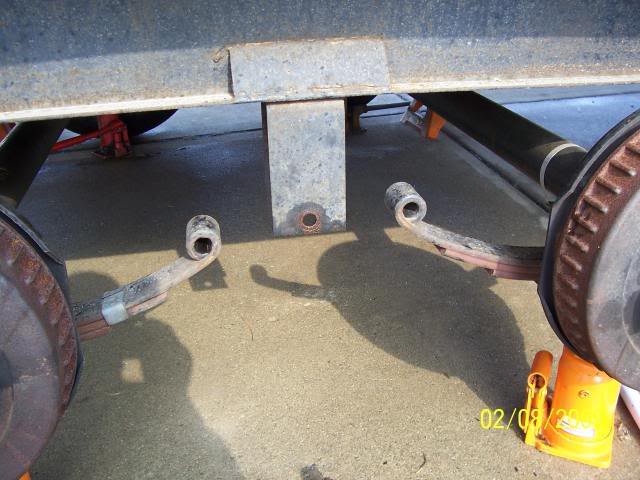
Now the spring is completely loose from the frame on this one side. The jack
is holding this end up and the opposite side of the TT spring is holding the
other end. You can now easily move the spring and axle up and down and left
to right on the end you are working on.
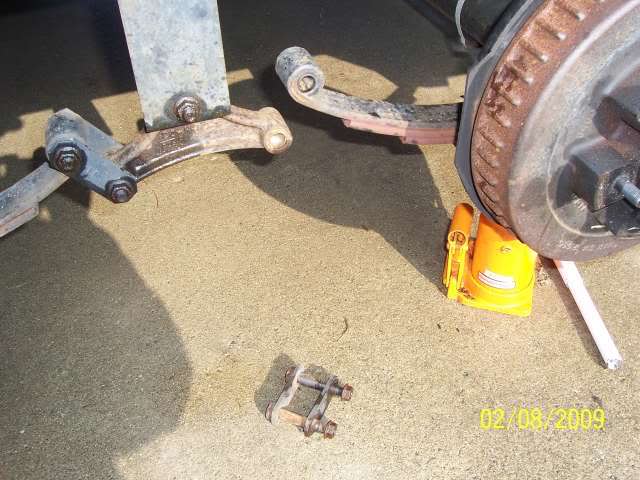
You can now take off the other spring pins and the equalizer and shackle.
Both axles are now free from the TT on this one side.
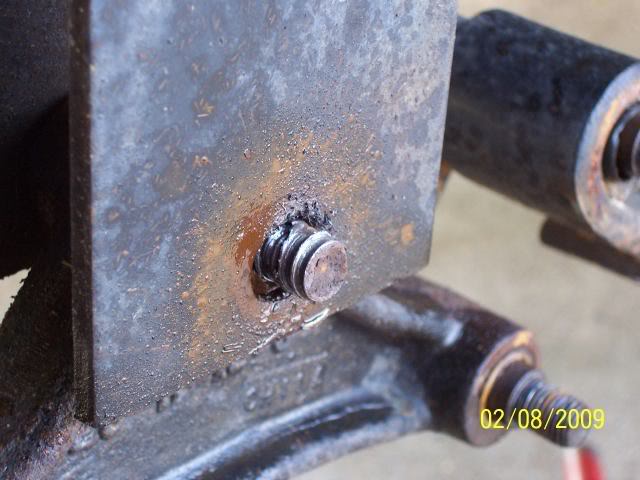
Also here is what you can run into. A galled up nut. Fortunately I had air
tools and could power this off, but by hand this would be a real deal to
contend with. It may be you have to crack the nut to get them off if they
strip. I only had one gall up, and it was enough.
Now comes to drive out the old nylon bushings. You can see here how worn
they can get.
Just use a small blunt nose punch to drive out the nylon bushing. On the
spring ends by the frame hangers, lower the bottle jack and the spring eye
will be exposed to drive out the bushing.
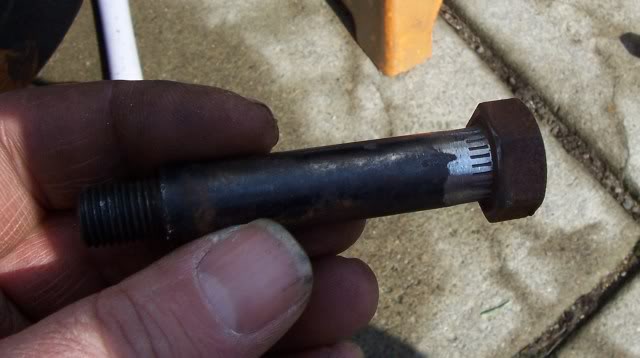
Now comes the install process. Find one of the old pins and grind off the
serrations to use as a pilot pin to press in the new bushings.
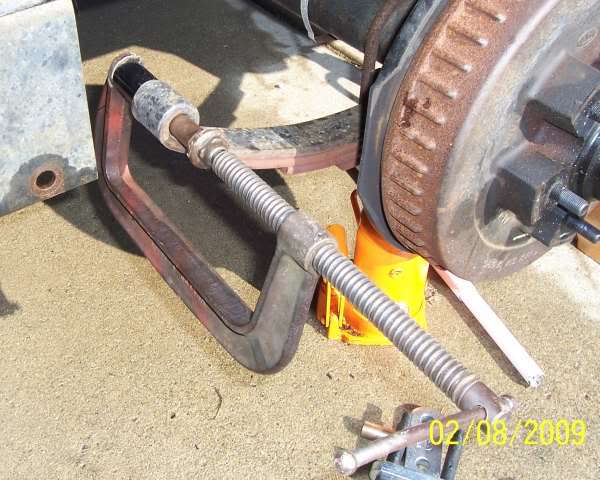
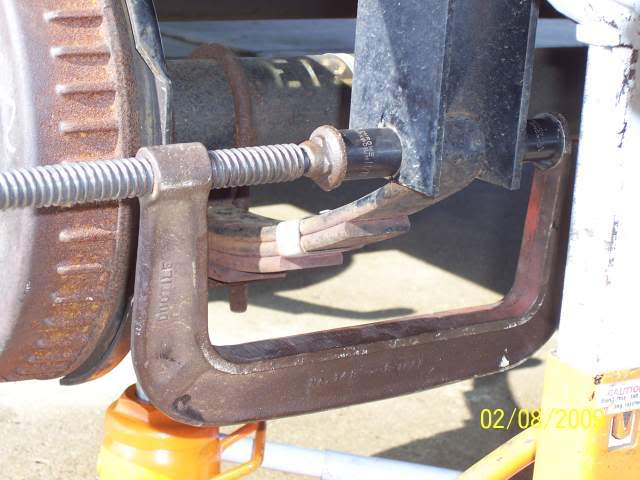
Then you need a bushing press kit. I used a 12” large C clamp and some 1/2
sockets. The socket needs to be large enough the thread end of the pin will
not get hung up in it.

And then nice and easy press in the new bronze bushings. The Dexter
instructions say you can drive in the bushing using a protective pin but I
like the screw clamp that can be controlled better and leaves no impact
marks.
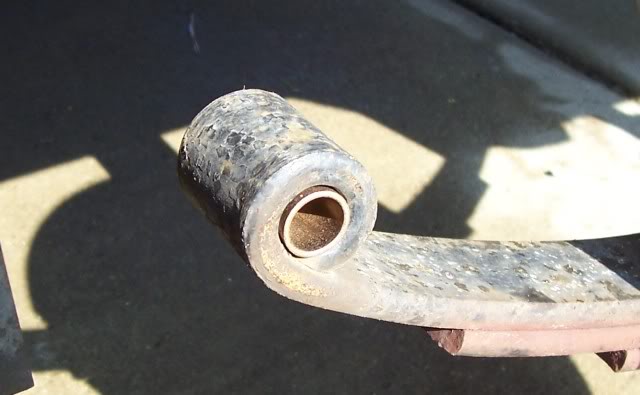
Here is the bushing when done. And the spring dropped down at the hanger so
you can work on it.
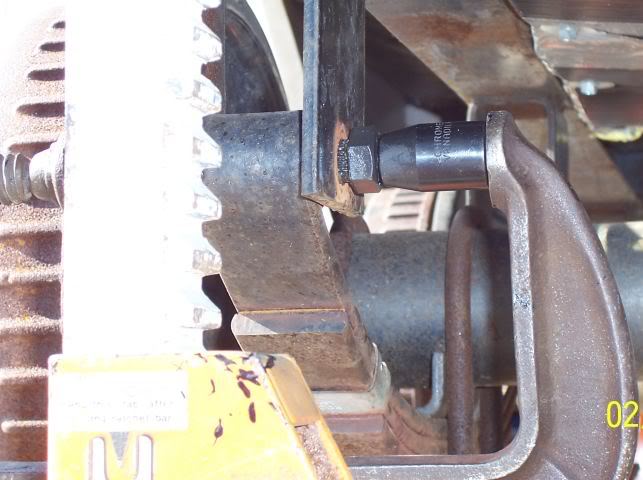
Next is inserting the pins. I start with the frame hangers. Again need a
different socket to go over the grease fitting for pressing. Also to note is
the hole where the grease comes out. The hole needs to be horizontal and I
have it pointing towards the play end of the bushing. Meaning the hole to
point to where the play will be when running down the road. If you have the
hole straight up, then the weight of the TT is on it and the grease has a
hard time getting in plus the bushings wear material plugs up the hole. So
my front hanger pins have the hole pointing forward to the front of the TT.
(At the 3:00 O’clock position while facing)
I then grease up the pin and the serrations and insert in the hole. I use
the bottle jack to lift the spring. I can also grab by hand the entire end
of the axle and move it left to right as needed to get a test pin in to line
up the hole/spring in before putting the final one in. Then nice and even
press in the pin using the clamp. Make sure the head of the pin is all the
way to the hanger.
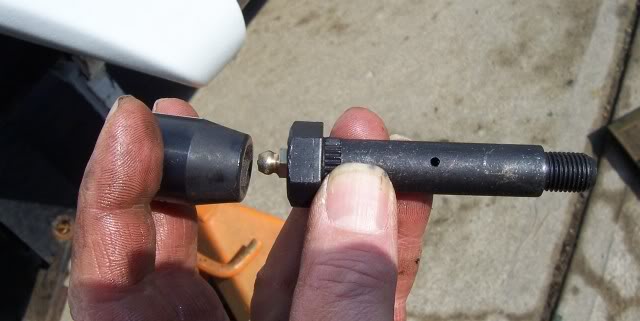
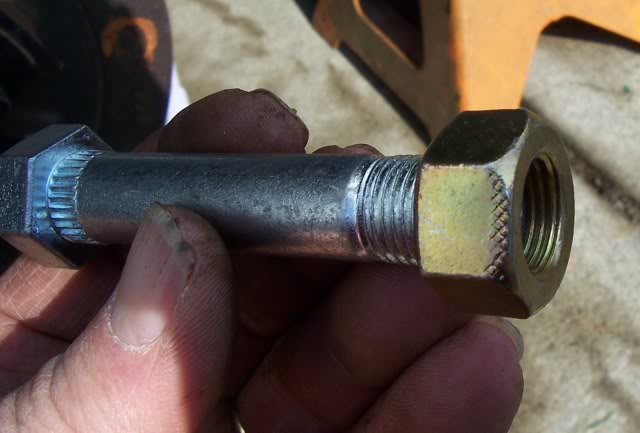
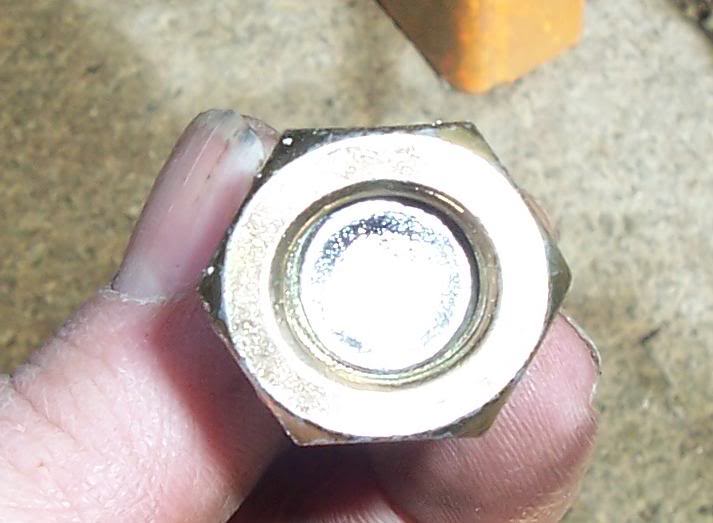
Once the hanger pins are in, the EZ Flex is next. They have a swedged nut as
a lock nut. There are impressions in the swedged end. The nut goes on so the
swedged end is outwards so you do not fight it all the way on.
Then grease up the pin real well and the steel bushing ID of the equalizer.
You can also use Never-sieze here. Intent is so that the pin does not rust
solid in the equalizer. Over the years I have had better luck using grease
then Never – seize but both work. Then get another socket setup and press
the EZ Flex bolt in.
Then comes the shackle links. Again remember the lube hole and if the hole
is on the tight side or loose side as the TT tows down the road. Since one
end is pushing the spring and one end pulling the spring, they change. Since
the link is on an angle it is on the more loose side. I also pre grease the
pins by hand before inserting.
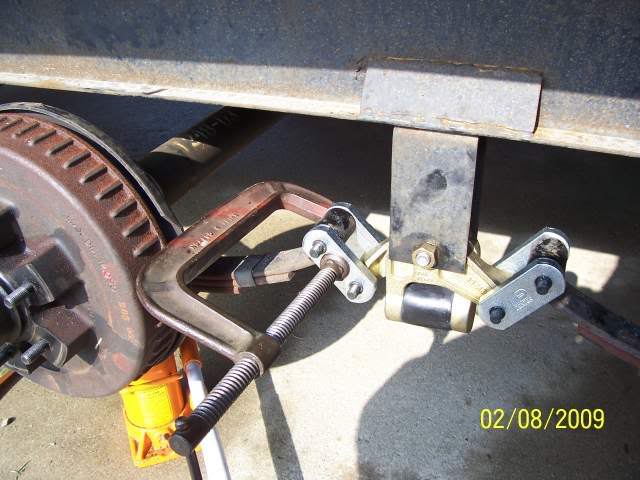
The shackle links may flop right on or need a little help. Again the C clamp
to the rescue for the help.
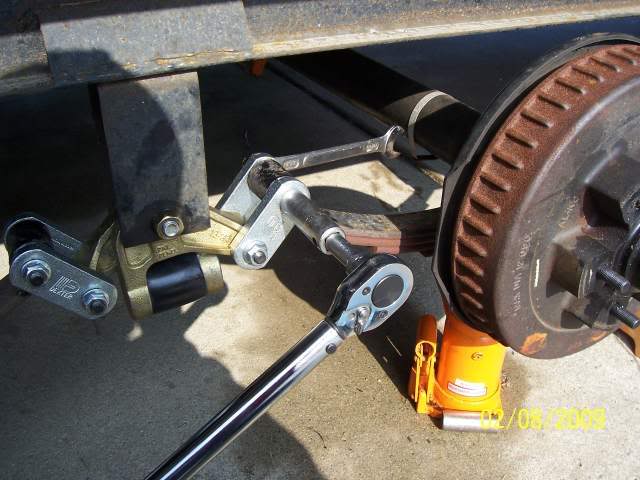
Then you need to torque all the nuts. The spring and shackle pins where
torqued to 50 ft lb. The center EZ Flex bolt to 75 ft lb. This is in the
Dexter directions. NOTE: Make sure you use a wrench to hold the head of the
pin while torquing so it will not strip out the serrations.
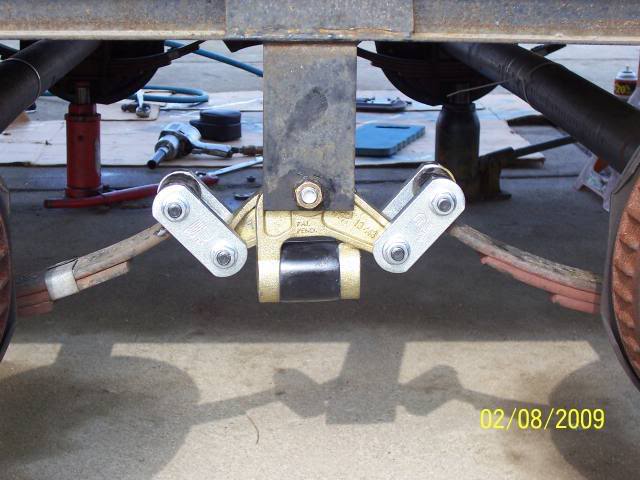
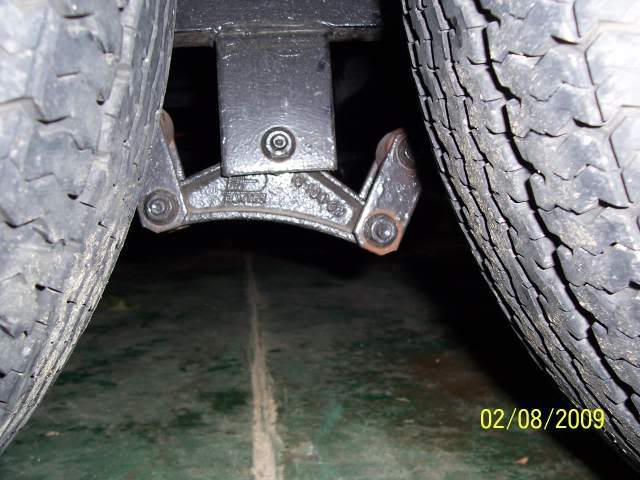
Here is the final install
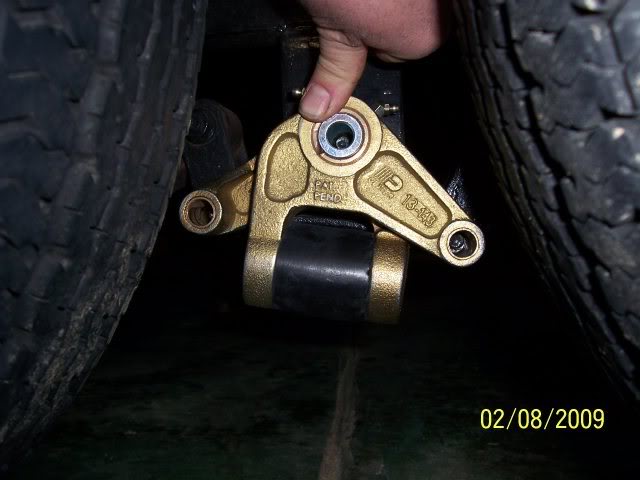
And a close up on the EZ Flex installed.
A few other notes:
1. I bought my EZ Flex from
Trailer Parts Super Store – EZ Flex for $241.95 plus shipping. You can
buy it right off the Dexter web site for about $2.00 less but there online
store was down and I was also buying other axle parts from Eastern Marine. I
am not affiliated with them, but this is where I bought mine from and had a
very good buying experience with.
The kit was for the 33” nominal axle spacing and up to 6,000 lb axles. Note:
33" does not exactly always mean 33" between the axles. It all depends on
the spring length you have. HenryJ found this out for me. My T310 axles are
actually 32" apart due to spring length. Henry's is 31 1/2" The kit was
Dexter E-Z Flex Suspension Kit, K71-652-00
2. I did the upgrade on my T310SR, a 10,000 lb GVWR camper using 5,000#
axles that where Al-Ko. The EZ Flex is not and exact line up with the Al-Ko
equalizer but I did a CAD layout and the shackles take up the majority of
the difference.
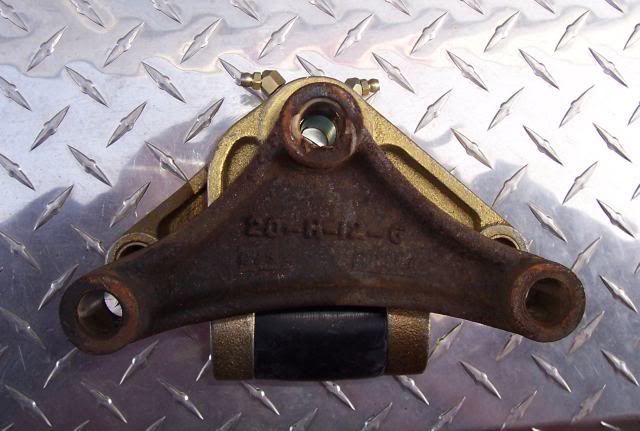
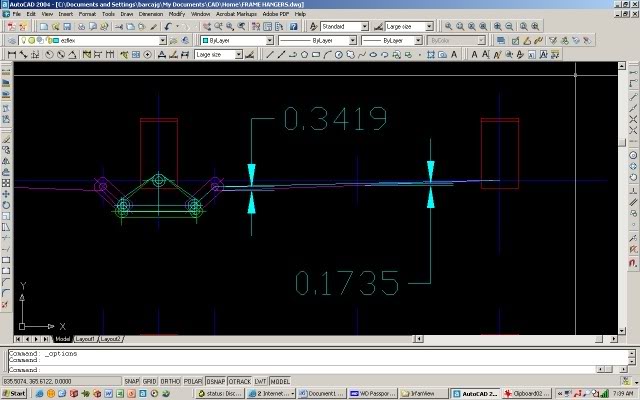
In my case this will my AlKo Equalizer, the Dexter EZ flex will raise the
camper theoretically a little less then 3/16”. More like 1/8” when loaded
and maybe less as they are springs.
I also tried the fit of the EZ Flex on my 2004 T2499 which has Dexter
running gear and it was a perfect match. This is a 7,000# GVWR camper with
3,500# axles.
3. It seems a concern of the Dexter EZ Flex by the competition is that the
rubber is exposed to sunlight. To combat this I will use 303 Protectent on
the rubber and may even make a thin plastic sleeve or high grade electrical
tape to cover it.
I have not yet towed with the new EZ Flex so I can’t report on that part
yet. In my case this was part of a suspension upgrade/overhaul as now that I
have tight bushings so I can more accurately measure the axle alignment. And
I did and now I know I’m really off on both axles. That is the next phase to
attack.
Hope this helps someone contemplating doing this upgrade.
John
